You need to create a new Azure Active Directory (Azure AD) directory named 12345678.onmicrosoft.com. The new directory must contain a user named user12345678 who is configured to sign in by using Azure Multi-Factor Authentication (MFA).
Answer is in the explanation below.
Reference / correct answer:
See the explanation below.
To create a new Azure AD tenant:
1. Browse to the Azure portal and sign in with an account that has an Azure subscription.
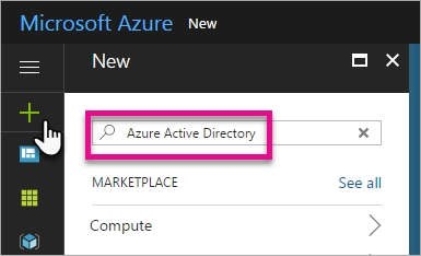
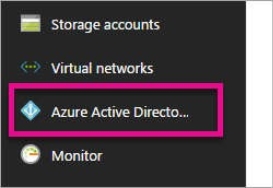
2. Select the plus icon (+) and search for Azure Active Directory.
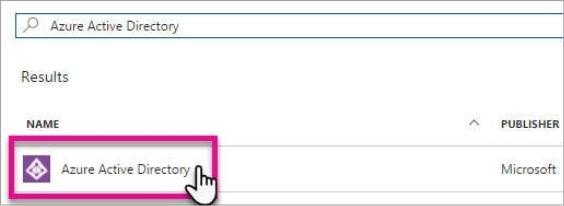
3. Select Azure Active Directory in the search results.
4. Select Create.
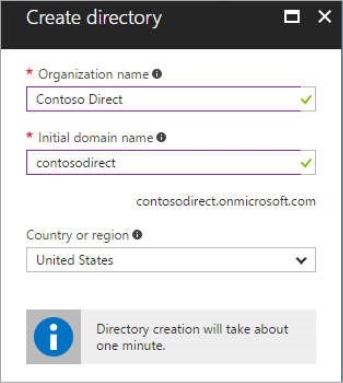
5. Provide an Organization name (12345678) and an Initial domain name (12345678). Then select Create. This will create the directory named 12345678.onmicrosoft.com.
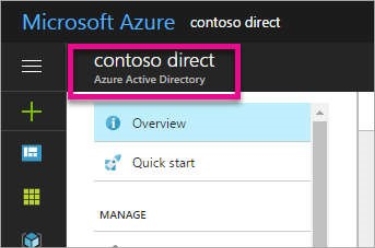
6. After directory creation is complete, select the information box to manage your new directory.
To create the user:
1. In the Azure portal, make sure you are on the Azure Active Directory fly out.
If not, select the Azure Active Directory icon from the left services navigation.
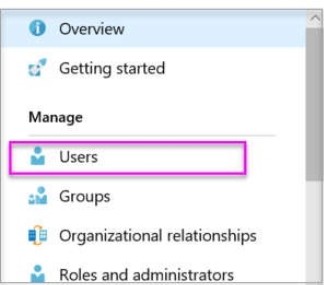
2. Under Manage, select Users.
3. Select All users and then select + New user.
4. Provide a Name and User name (user12345678) for the user. When you're done, select Create.
To enable MFA:
1. In the Azure portal, make sure you are on the Azure Active Directory fly out.
If not, select the Azure Active Directory icon from the left services navigation.
2. Under Manage, select Users.
3. Click on the Multi-Factor Authentication link.
4. Tick the checkbox next to the user’s name and click the Enable link.
You need to configure network connectivity between a virtual network named VNET1 and a virtual network named VNET2. The solution must ensure that virtual machines connected to VNET1 can communicate with virtual machines connected to VNET2.
To complete this task, sign in to the Azure portal and modify the Azure resources.
Answer is in the explanation below.
Reference / correct answer:
See the explanation below.
You need to configure VNet Peering between the two networks. The questions states, “The solution must ensure that virtual machines connected to VNET1 can communicate with virtual machines connected to VNET2”. It doesn’t say the VMs on VNET2 should be able to communicate with VMs on VNET1. Therefore, we need to configure the peering to allow just the one-way communication.
1. In the Azure portal, type Virtual Networks in the search box, select Virtual Networks from the search results then select VNET1. Alternatively, browse to Virtual Networks in the left navigation pane.
2. In the properties of VNET1, click on Peerings.
3. In the Peerings blade, click Add to add a new peering.
4. In the Name of the peering from VNET1 to remote virtual network box, enter a name such as VNET1-VNET2 (this is the name that the peering will be displayed as in VNET1)
5. In the Virtual Network box, select VNET2.
6. In the Name of the peering from remote virtual network to VNET1 box, enter a name such as VNET2-VNET1 (this is the name that the peering will be displayed as in VNET2).
There is an option Allow virtual network access from VNET to remote virtual network. This should be left as Enabled.
7. For the option Allow virtual network access from remote network to VNET1, click the slider button to Disabled.